
The program can be downloaded from our website in the User Only Downloads section. The program can be installed on any workstation but if you have a particular computer that you use for retrieving images from cameras then you may want to consider installing the software to that workstation.
Once the program is installed you can run it by going to Start - Programs - Agency Advantage - WinAA BatchFile. The main screen will appear as below.

The next step is to select the path where the files are located. You can do this by clicking on the Open Files (red arrow) button.
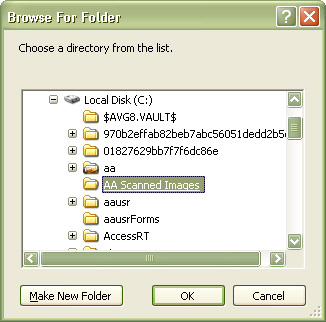
You will need to browse to the folder where your image and pdf files are located. Navigate to the location the files are located by clicking on the '+' signs to the left of the folders. Once you have found the location of your scanned or existing images, click OK.
You will be returned to the previous screen except you will notice that it is populated with the image files.
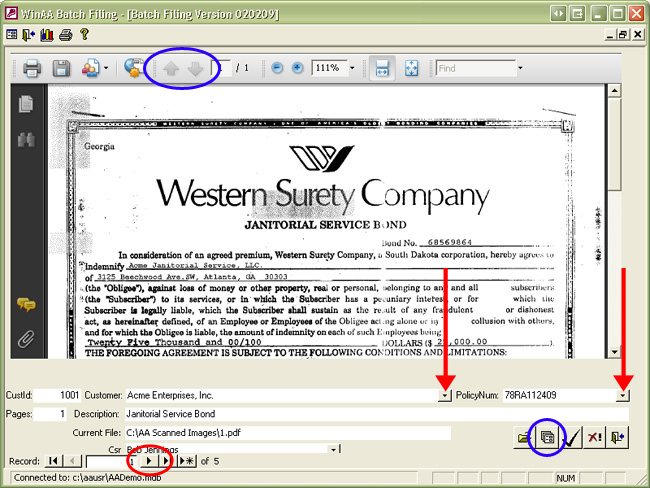
From here you will want to select the customer and policy
information for each image file (red arrows). You can use the Record Selector buttons
(red circle) in the
lower left-hand corner to switch between image files. You can use the blue arrows
at the top (blue circle) to switch between pages on multi-page PDF and TIF
files. You can
also append files together by using the Append to Previous Document button
(blue circle). Unwanted images
can also be deleted with the Delete button.
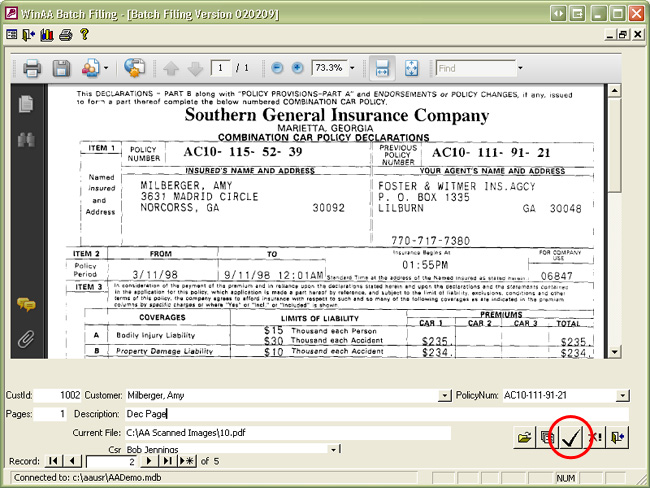
Once you have configured all of your files click on the Post to Database
button (red circle on image below). This will copy the files into the
Image Storage path on your server.
Choose 'Yes' if you are ready to post the files to your database.
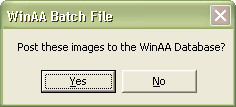
Once the files have been posted, you will receive confirmation.
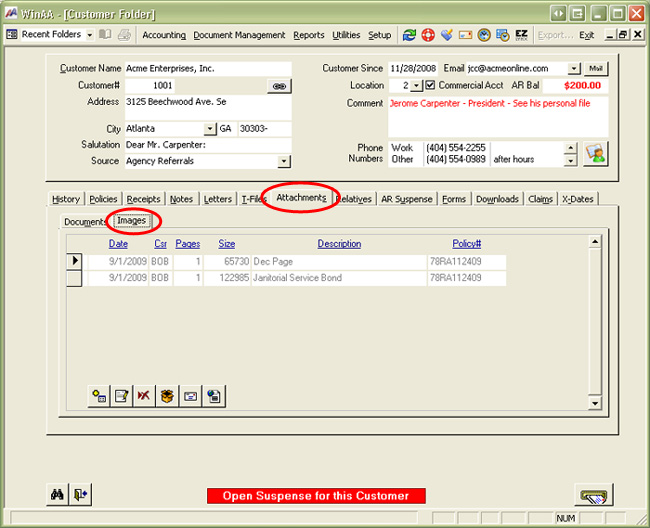
After the images have been posted, you will be able to see them in the customer's folder under the Attachments and Images tabs.
Written by: Tina Stewart